ARDUINO BASED THERMOMETER WITH LCD DISPLAY
Jul 23, 2020

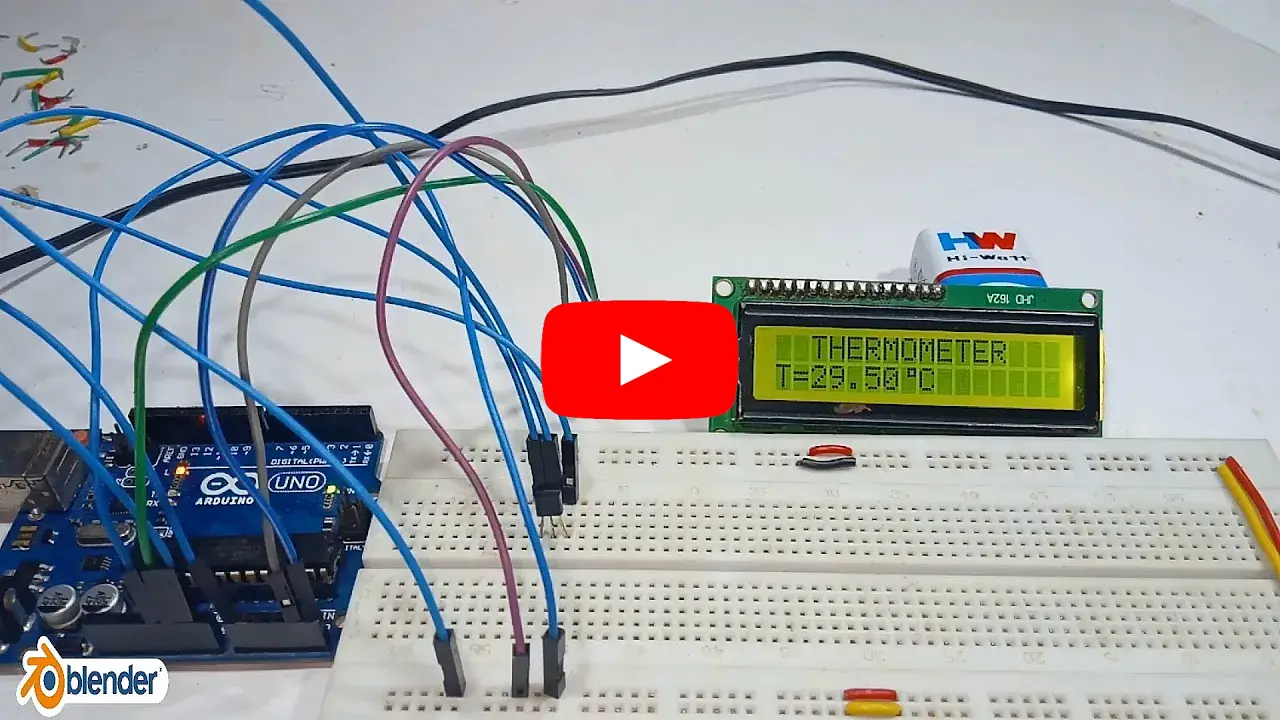
In this video, I'll show you how to build a digital thermometer using an Arduino UNO, an LM35 temperature sensor, and an LCD display. This simple yet effective project lets you measure temperature accurately and display the readings in real time.
Components Required
- 1 x Arduino UNO
- 1 x LM35 Temperature Sensor
- 1 x LCD Display
- 1 x I2C Module (Optional for easier LCD wiring)
- Connecting Wires
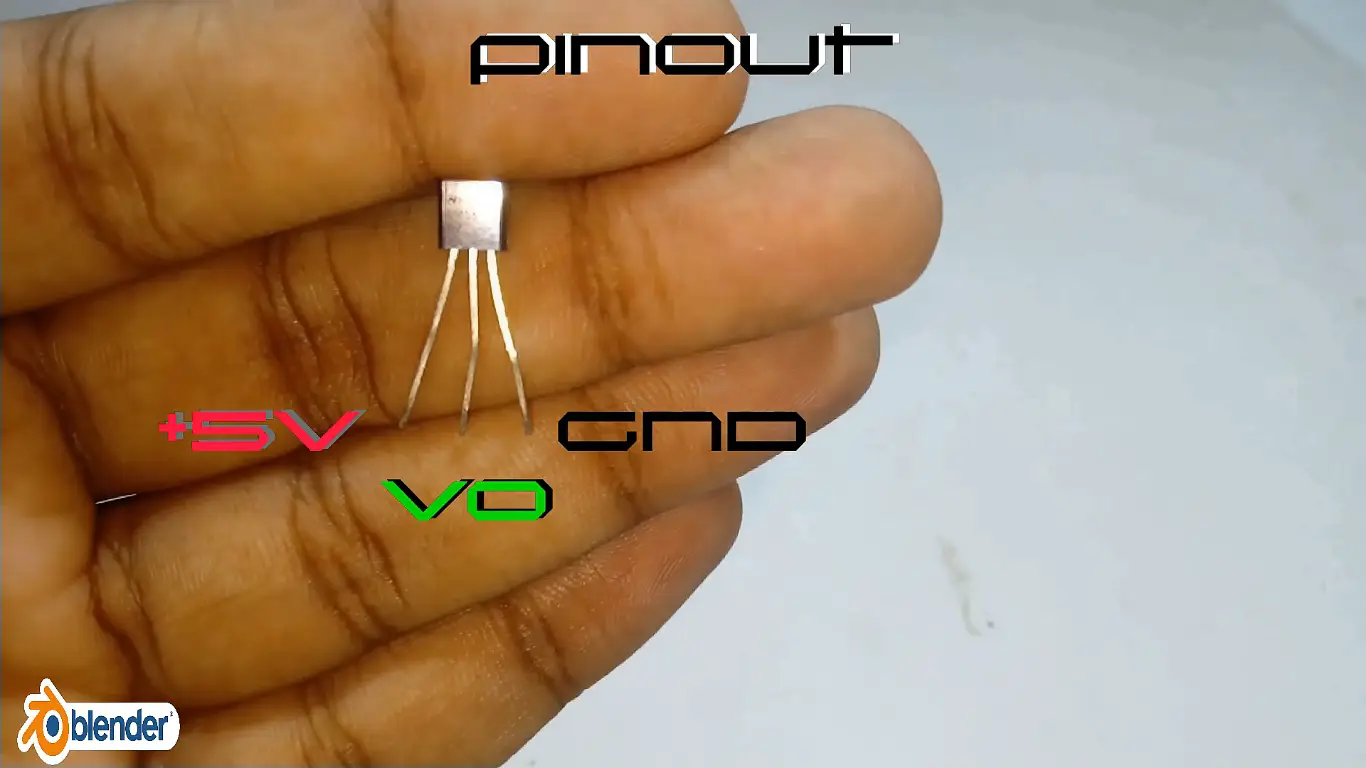
Understanding the LM35 Temperature Sensor
- LM35 is a precision centigrade temperature sensor that provides a linear output.
- It operates within a temperature range of -55℃ to +150℃ with an accuracy of ±0.75℃.
- The output voltage changes at 10mV per °C, meaning for every 1°C increase, the voltage rises by 10mV.
LM35 Pinout

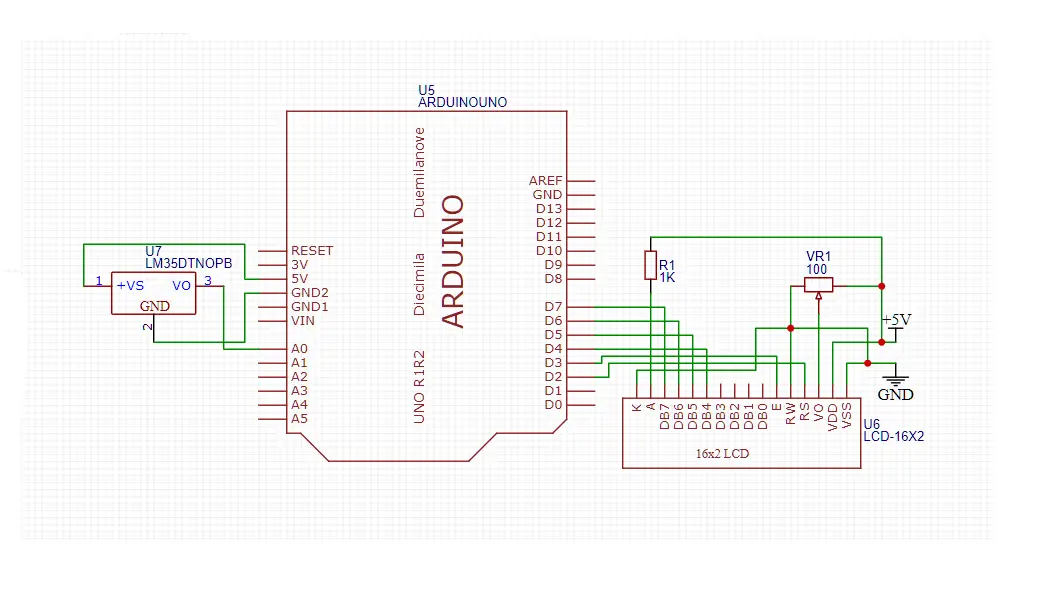
Normal LCD Connections
| ARDUINO PINS | LCD DISPLAY PINS |
|---|---|
| GND | VSS |
| +5V | VDD |
| Center of Pot | VO |
| D2 | RS |
| GND | RW |
| D3 | E |
| NC | D0 |
| NC | D1 |
| NC | D2 |
| NC | D3 |
| D4 | D4 |
| D5 | D5 |
| D6 | D6 |
| D7 | D7 |
| +5V via Resistor | A |
| GND | K |
Circuit Diagram

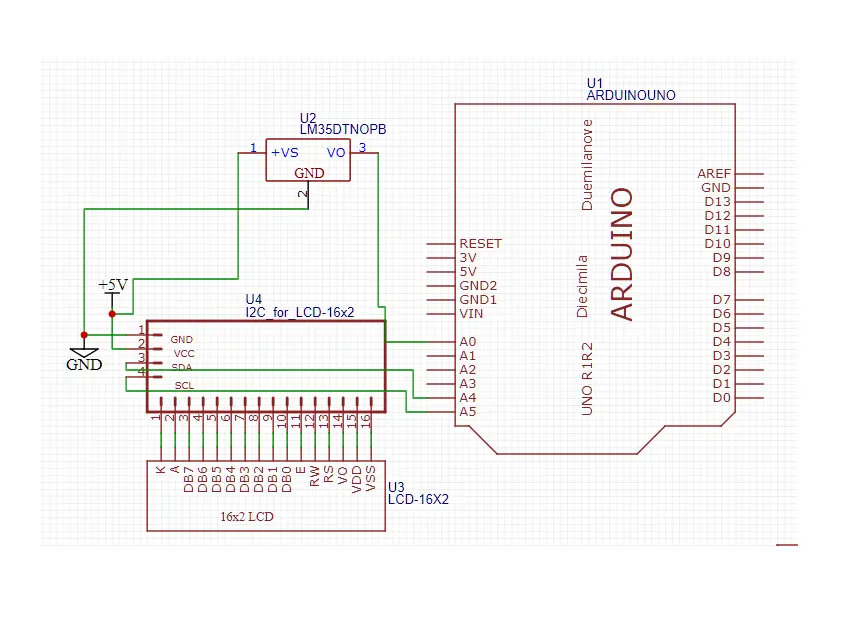
I²C LCD Connections
| ARDUINO PINS | I²C LCD MODULE PINS |
|---|---|
| D4 | SCL |
| D5 | SDA |
| +5V | VCC |
| GND | GND |
Circuit Diagram

Code for this can be found by clicking here
If you like this video hit the SUBSCRIBE button and give a LIKE.
Comments (0)
No Comments Yet
×
![]()